Saturday 22 October 2011

Making the strips

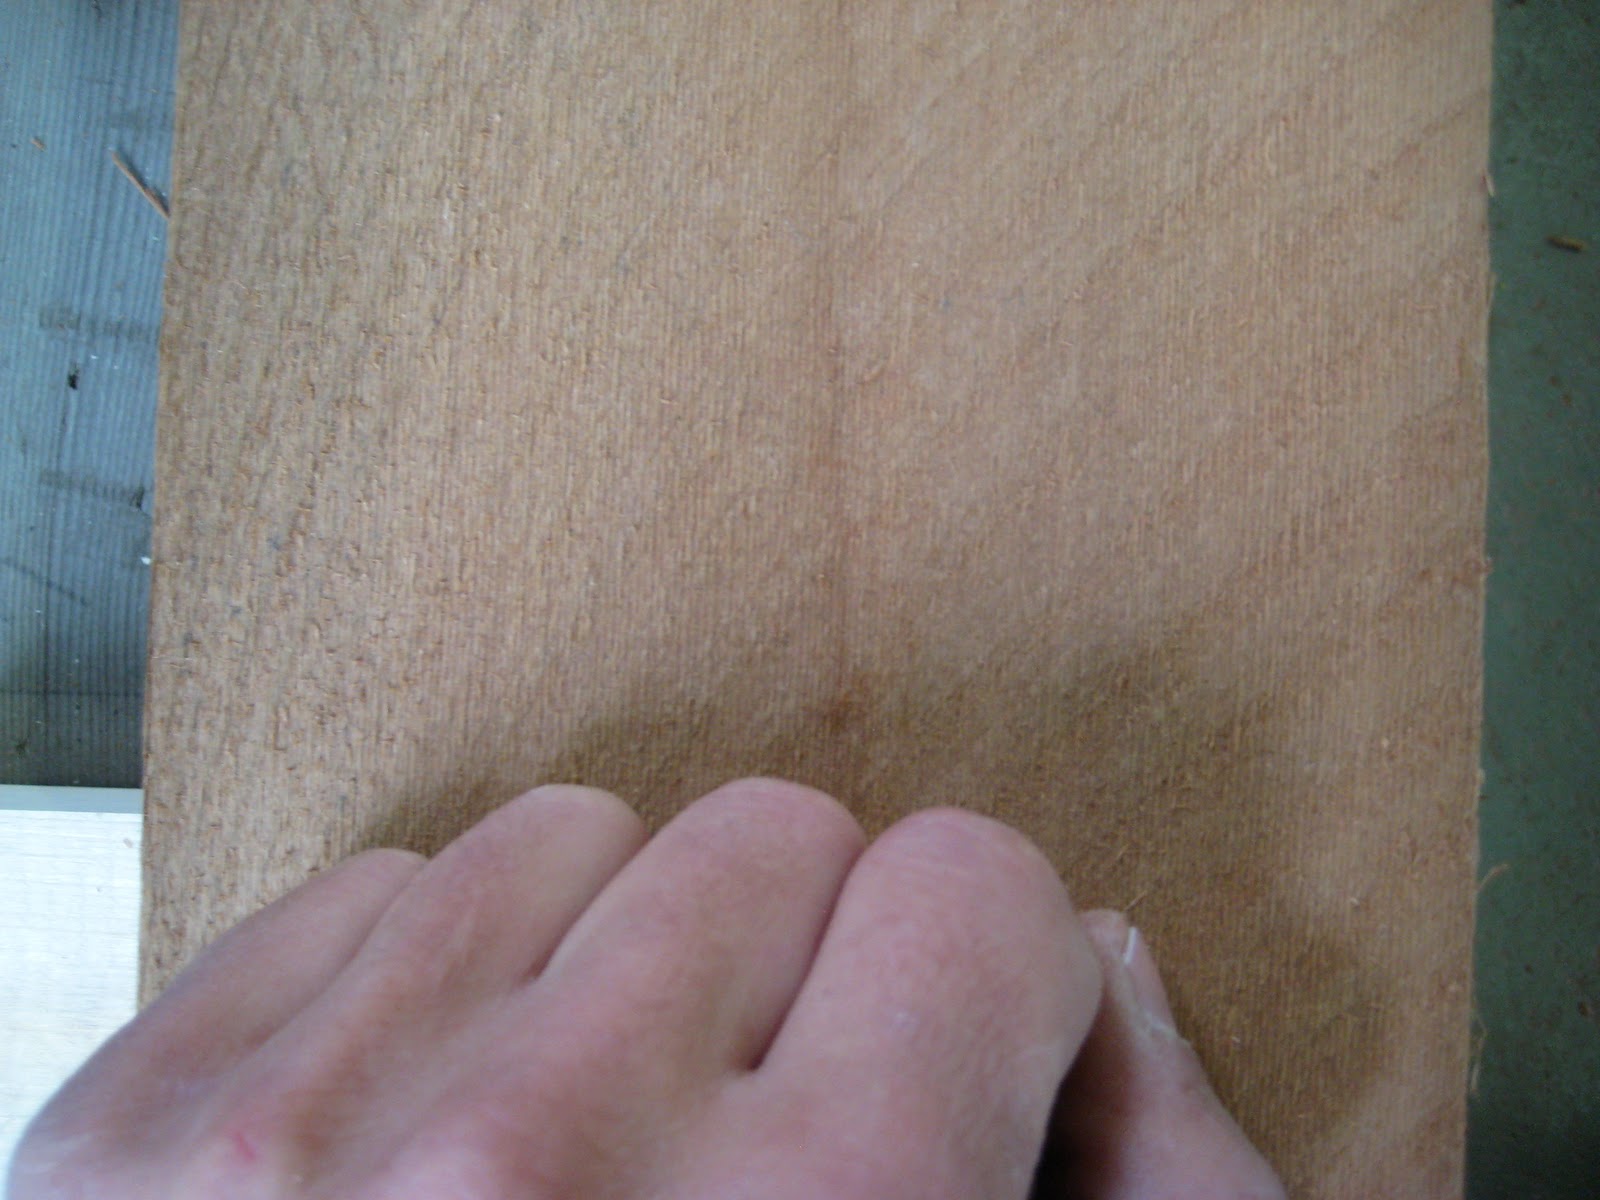
Since cutting the cedar into 9/32" x 2" it has dried out wonderfully. I flipped the pieces over every other day to make sure they dried evenly. It's quite amazing how much lighter the cedar has become. The moisture reads between 5-4% .


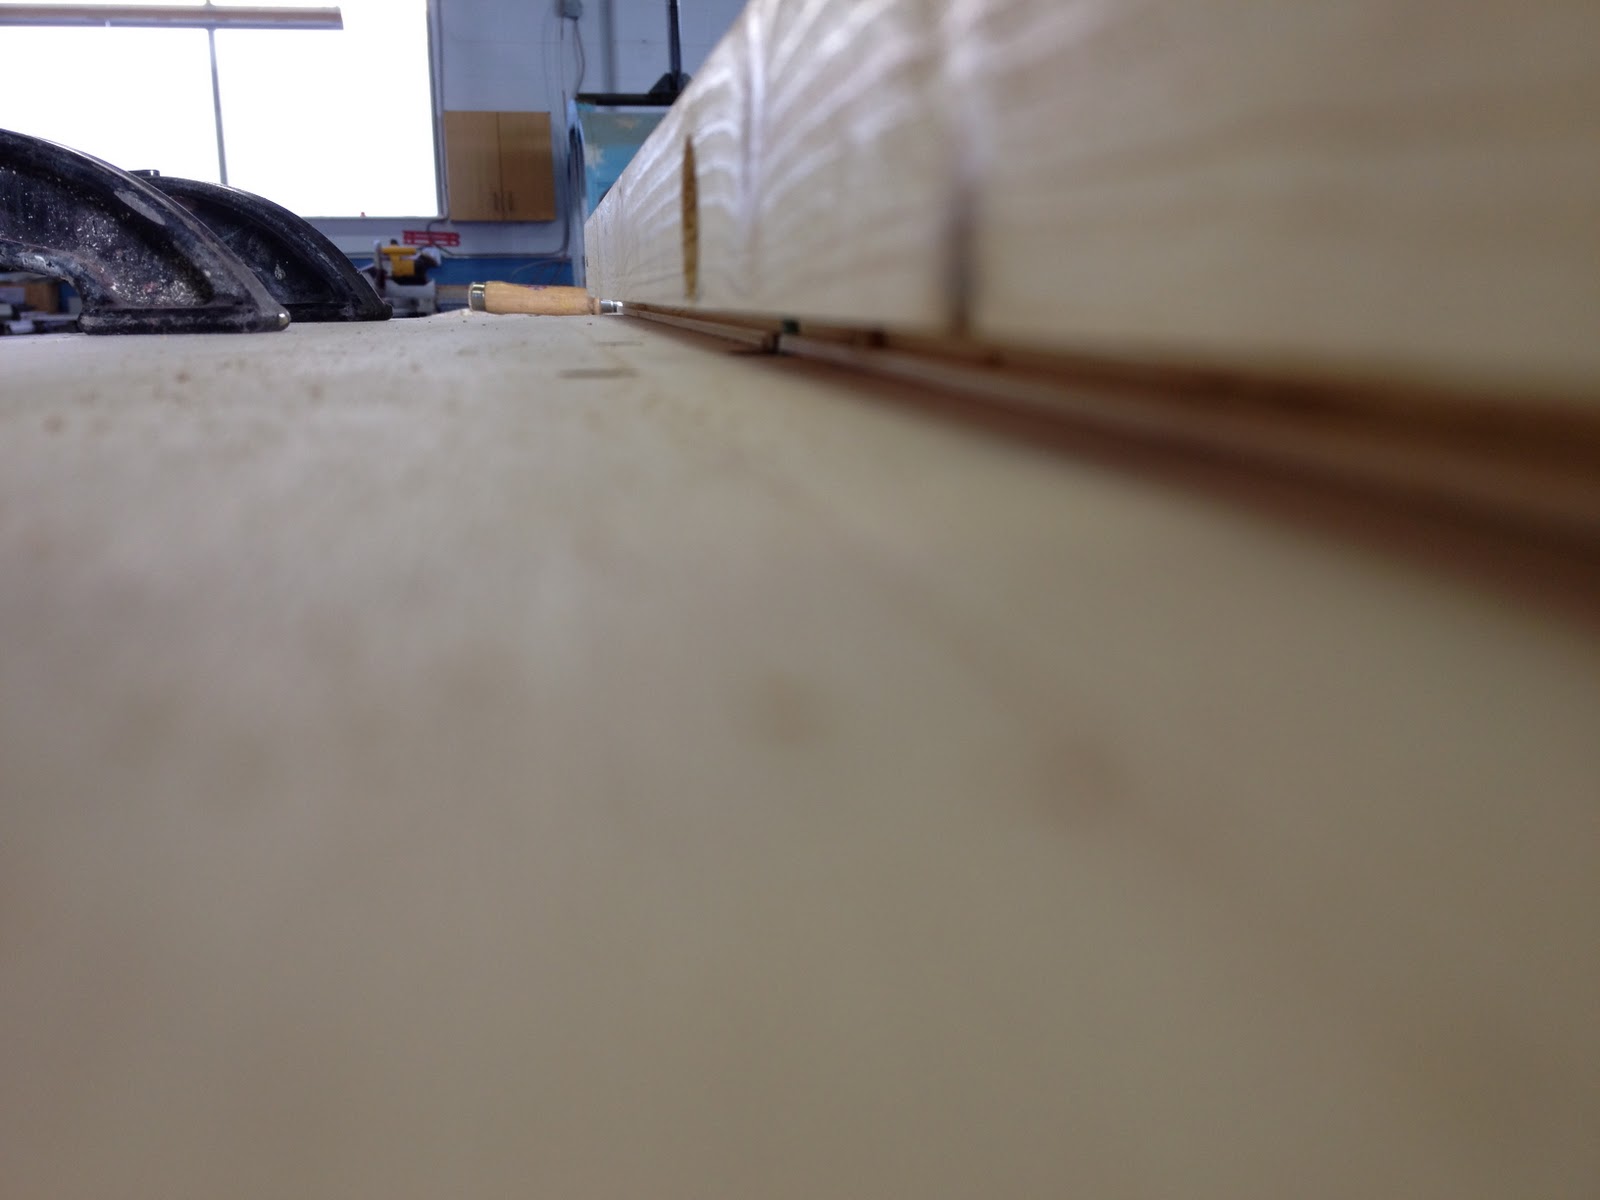
     Now I can start making the finish strips. First I had to get them all the exact same thickness. The shop has a nice thickness sander that I used for this. The sander was pretty close to the one wall so i had to bend the wood to get it in. Once everything was sanded to 7/32" it became easy to see the light and dark streaks in the wood. This is important to me as i want to use these colour differences to my advantage.
    Next I ripped the 2" wide strips into 2 pieces. These came out to around 13/16". This took some time. pushing 16 ft lenths through the saw 360 times. (120 pieces x3) I've been keeping the pieces in groups , depending on what board they came from. This will make matching grain patterns easier.

     Then came machining the bead and cove. I bought my router bit from Lee Valley

Rather than use a 1/4" bead and cove bit and end up with really fragile, steep sides on the cove profile i went with a slightly bigger bit ( 3/8") .  I'm glad I did this.
     I quickly made up a simple shop made router table and fence. I like my design as it's super easy to make, adjustments are easy, and it's the safest way to router as the bit is completely hidden. I didn't require any feather boards either. just light pressure to keep it tight to the inside of the fence and that's it.
Perfect cove and bead all day.

    With the strips ready to go I went on to bending the stems.
As of the writing of this post I plan on only making an inner stem. I like the look of stemless construction and will use extra strips of fiberglass to give the dent resistance and strength at the bow and stern. If it becomes difficult to make the front stemless, it won't be hard to change my mind and plane down a flat spot to attach the outer stem to. But for now I plan on just an inner stem to give me something to glue the strips to.
   I hand cut the form for the stem to be bent around, made some notches for the clamps, and checked it with a piece of plastic.
     Steaming is straight forward. But with steaming cedar it helps to soak it first as the wood is non-porous. Oak and Ash steam nicely, being porous. Once steamed I quickly clamped it around the form and let it dry.

Wednesday 12 October 2011

The design

  My father-in-law is a hardcore canoeist who has contributed so much of his knowledge of canoes and their design. I was very unsure in the beginning as to what design i wanted. I've paddled his canoes and liked them both. He has a kevlar 16' prospector as well as a 17' Tripper . Both by Clipper. Amazing canoes.
  The Prospector has always look like a proper canoe to me. And after I had paddled my father-in-laws kevlar version, I knew how fun and versatile it would be. I scoured the internet, for prospector plans and found this,  NorthWest canoe plans. in here is a beautiful river canoe. It is based on the prospector but with more beauty added. It has more tumblehome , which always looks nicer, as well as a few for minor changes. I loved the design. Plus the plans are a free download! I just downloaded the files and went to Staples and had them print the full size plans for less than $10.
  While my boards were only 16'ft long , and I wanted a 16'ft canoe, I knew I wouldn't be able to build a canoe this long without having a joint in the wood somewhere.(because the sides of the canoe bend) My plan has always been to make the canoe 6" shorter to account for this.
  Now I wanted to build something different from the start. The birchbark canoe looks like a proper canoe with it's high sloping fronts. I plan on integrating this into my design. My hope is that I'll get a more traditional looking canoe with some slightly better whitewater characteristics. I know it'll be a bit more susceptible to wind, but I'm willing to deal with that. You can see the bow and stern in the changed plans.

Drying and milling the wood

  When i bought the wood it was soaking wet. Quite heavy too. So I had to get it dry. I'm storing it at the shop I'm Foreman of. I have lots of room and will be building my canoe here too.


  I let the wood sit for a couple weeks, testing the moisture content with a reader, it started reading at 32% moisture. But I think it was more as my arm reads at 32% ( don't think it can read any higher) A week later it was around 23%. 2 more weeks later 13% . i figured now was a good time to cut into the cedar and see what it was like. This old growth cedar has incredibly tight grain.


  I started cutting at just under 5/16 thick with a fairly thin blade on the table saw. first thing i noticed was the wood was still quite moist in the centre where the moisture reader couldn't read. So I'll have to let it dry some more. I cut 4 of the 5 boards into strips knowing they would dry alot faster with more exposure. I kept the last board in case i want to use it for anything else. My goal is to end up with a fairly light canoe. So using cedar where i can will help with weight. I joined one edge of the 16 ft boards by hand as i have no electric joiner. Plus my training is mostly hand tools. So i enjoy using them whenever i can as a spent years collecting and then finally building my toolbox for them. It's not a finished toolbox as i've a few more tools to get. But it's coming along nicely. I want to carve the front side some more too.
   

intro

This blog follows my first cedar strip canoe build. I doubt it will be my last. I bought my cedar boards on Vancouver Island while on vacation. It was from a little cedar mill just outside of Tofino.                  
                                                   IISAAK Wood with respect
Very nice people and had no problem letting me sort through the cedar to find what i wanted. Plus the wood was cheap. I bought 5 pieces of 2x6  16 ft long. Thats 30 strips per board. That's 150 full length strips. enough for 2 canoes with some left over. I paid $360 for the lot. This project is off to a good start.